Nail prep: How to prepare your nails for a perfect and long-lasting manicure
Long-lasting nail extensions start with proper nail prep . Whether you're applying gel, acrylic, or gel polish , nail prep is crucial to avoiding lifting, peeling, and unevenness. In this guide, we'll walk you through the best nail prep steps as well as common mistakes to avoid , so your manicure lasts longer and looks perfect!
Why is nail prep so important?
If you skip nail prep, your artificial nails or polish may peel, come off, or look uneven. A good preparation:
✅ Increases the adhesion of gel, acrylic and nail polish.
✅ Reduces the risk of lifting and air bubbles.
✅ Provides a smooth and professional finish .
Now we'll go through step-by-step how to do a perfect nail prep!
Step-by-step: Perfect nail prep for long-lasting nails
1. Remove old nail polish or material
Use an acetone-free nail polish remover for regular polish, or soak off remover and foil to remove gel polish. If you have gel or acrylic, you can gently file away the material with a nail file (180 grit) or electric file .
Here you will find the Nail Expert starter kit for removing nail extensions and gel polish.
2. Shape your nails
Use a nail file (180-240 grit) to shape your nails to your desired style (oval, square, almond). File in one direction to avoid splitting your nails.
3. Push back the cuticles
Cuticles left on the nail plate can cause gel or acrylic to lift. Use a cuticle pusher or orange wood stick to gently push back the cuticles.
4. Remove dead skin cells and excess cuticles
Cuticle residue will impair adhesion. File away dead skin with a cuticle bit if using an electric file and a cuticle nipper to gently trim excess cuticle if necessary.
5. Buff the nail plate gently
Use a buffer (240 grit) to remove the shine from the nail surface. This will help the base gel or acrylic adhere better. Be careful not to over-buff – the nail should only become dull, not thin.
6. Remove dust and clean your nails
Brush away nail dust with a nail brush and clean the nail with our disinfectant spray or pre-cleanser to remove oils and dirt.
7. Apply nail dehydrator
A nail dehydrator removes moisture and oil from the nail, which improves the adhesion of gel polish, gels and acrylics. Apply a thin layer and let air dry.
Here you will find Nagelexperten's Extreme dehydrator for best adhesion.
8. Apply primer (if necessary)
Nail primer creates a better bond between the nail and the material you are applying. There are two types:
- Acid-free primer – gentle and mainly used for gel polish and jelly.
- Acid-based primer – stronger and often used for acrylic and problem nails that easily peel off. This type of primer should be used with caution as it can have the opposite effect or cause damage to the skin/nails when used on nail beds that do not need it.
Use only a small amount and allow the primer to air dry before continuing.
The nail expert's primer is acid-free and is one of our absolute bestsellers!
9. Apply bonders
The next step is to apply a thin layer of bonder, this step can be skipped if you have a client who does well with just primer and base prep. Nagelexpertens No lift ultrabond increases adhesion further and should be used immediately after applying primer. Our ultrabond should be cured under the UV lamp for 30 seconds.
10. Apply base gel
Base gel should be applied before gel products such as builder gel and gel polish. Base gel should not be used when applying acrylic, however, you may need base gel on top of the acrylic if you are going to have gel polish on an acrylic extension. Base gel should be cured under a UV lamp, follow the instructions on the packaging to see the recommended curing time for each individual product.
You can find the Nail Expert's No lift bonder gel here!
If you prefer to work with base coat, you'll find it here!
11. Time to apply gel, gel polish or acrylic!
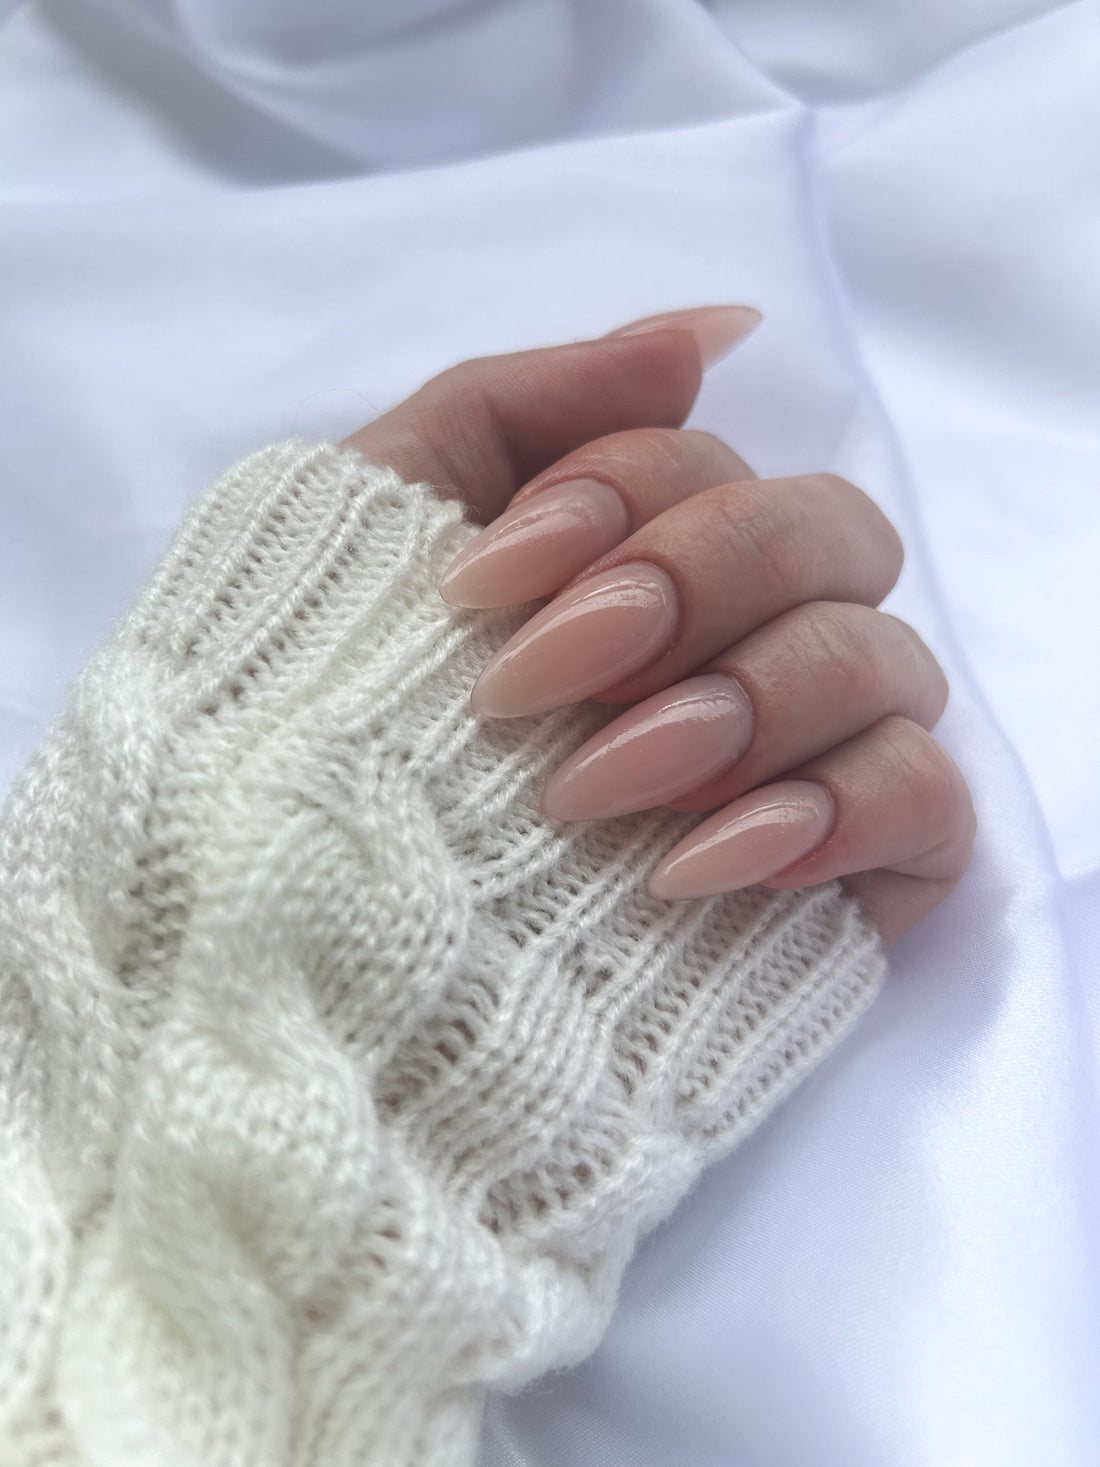
Now your nails are ready for the next step! Whether you're doing gel polish, gel extensions or acrylic nails, your material will adhere better and last longer thanks to the right nail prep.
Here you will find a wide range of nail extension products for both beginners and professionals!
Common mistakes to avoid when prepping nails
❌ Skip nail dehydrator or primer → May cause the material to peel off quickly.
❌ File your nails too much → Can damage the natural nail and make it weak.
❌ Leaving cuticles on the nail plate → Impairs adhesion and leads to lifting.
❌ Using too much primer → Can make the nail too dry and cause the material to peel off.
❌ Applying products to dusty or oily nails → Causes nail polish, gel or acrylic not to adhere properly.
Summary: Perfect nail prep for best durability
By following the right nail prep routine, you can ensure a smooth, long-lasting, and professional manicure. Remember to:
✔ Clean and disinfect your nails.
✔ File and buff carefully.
✔ Remove cuticles and clean the nail surface.
✔ Apply nail dehydrator and primer for better adhesion.
Follow these steps and you will avoid problems with peeling, lifting and unevenness – whether you are doing gel polish, jelly or acrylic nails!
Frequently asked questions about nail prep
How long should you let primer dry?
👉 Primer dries in seconds and should air dry completely before applying the next product.
Can I skip buffing my nails?
👉 No, buffering makes the products adhere better and reduces the risk of lifting.
Which primer should I use for gel polish?
👉 An acid-free primer is best for gel polish because it is gentle on the natural nail.
Do you have more questions about nail prep? Leave a comment! 💅✨