5 Basic Steps - Building Gel Nails
Building gel nails – Here's how!
Gel nails are a fantastic way to get long-lasting, beautiful, natural-looking nails. Whether you're a beginner or a professional, you can learn how to build gel nails with the right techniques and products, with a little practice of course! In this guide, we'll walk you through everything you need to know to create perfect gel nails.
It's important to know before you start that it takes a lot of practice to get the nails to hold properly and to get that perfect result. It's also important to start practicing on plastic fingers until you get the technique down.
What are gel nails?
Gel nails are a type of artificial nails that are created with a gel material. The material used can have many different names such as Builder gel, Nail gel, Gel, Hard gel, Soft gel, etc. There are also gels with different properties such as low viscosity, medium viscosity, high viscosity, fiber gel, etc. The artificial material is cured under a UV or LED lamp and gives a strong, flexible and glossy result. Gel can be used to strengthen natural nails or to extend them using tips or templates.
How to build gel nails – Step by step
1. Prepare your nails
- Clean your nails thoroughly and remove any nail polish.
- Push back the cuticles with a cuticle pusher.
- Gently file away any dead skin from the nail plate and trim the cuticles if necessary. This step is crucial to keeping your nails from peeling, but it is also the most difficult step to do correctly. We recommend watching guides on YouTube to learn how to do this step.
- Gently file the nail surface with a 240 grit nail file or buffer to create a slightly ridged surface for the gel to adhere to.
- Clean your nails thoroughly with a pre-cleanser and lint-free wipe to remove dust, dirt and grease. Make sure your nails are completely dry before moving on to the next step.
Read more about how to prepare nails here.
2. Apply base material
- Apply a thin layer of a dehydrator to cleanse the nail plate of oils & fats.
- Then add a thin layer of primer to improve adhesion.
- Apply a thin layer of base coat and cure under UV or LED lamp for 60 seconds.
3. Building and shaping the nail
- If you are extending your nail, attach a tip or template to the nail with nail glue .
- Apply a thin layer of builder gel, this is called a "slip layer" and creates a sort of base for the gel to slide on when you build your nails. Place the gel a little away from the cuticle, use a thin liner brush to get closer to the edge without getting the product on the skin. You don't want to touch the skin or cuticle, if that happens you need to wipe it off with cleanser immediately.
Here you can read more about why you shouldn't get nail products on your skin.
- Do not harden the slip layer, but place a small bead of gel in the middle of the nail. Tip your finger downwards throughout the process so the gel does not run down towards the cuticle.
With a light hand, place the brush on the gel ball and press the gel up towards the cuticle. Without releasing the contact between the brush and the gel, pull the gel side to side and work your way down towards the tip of the nail.
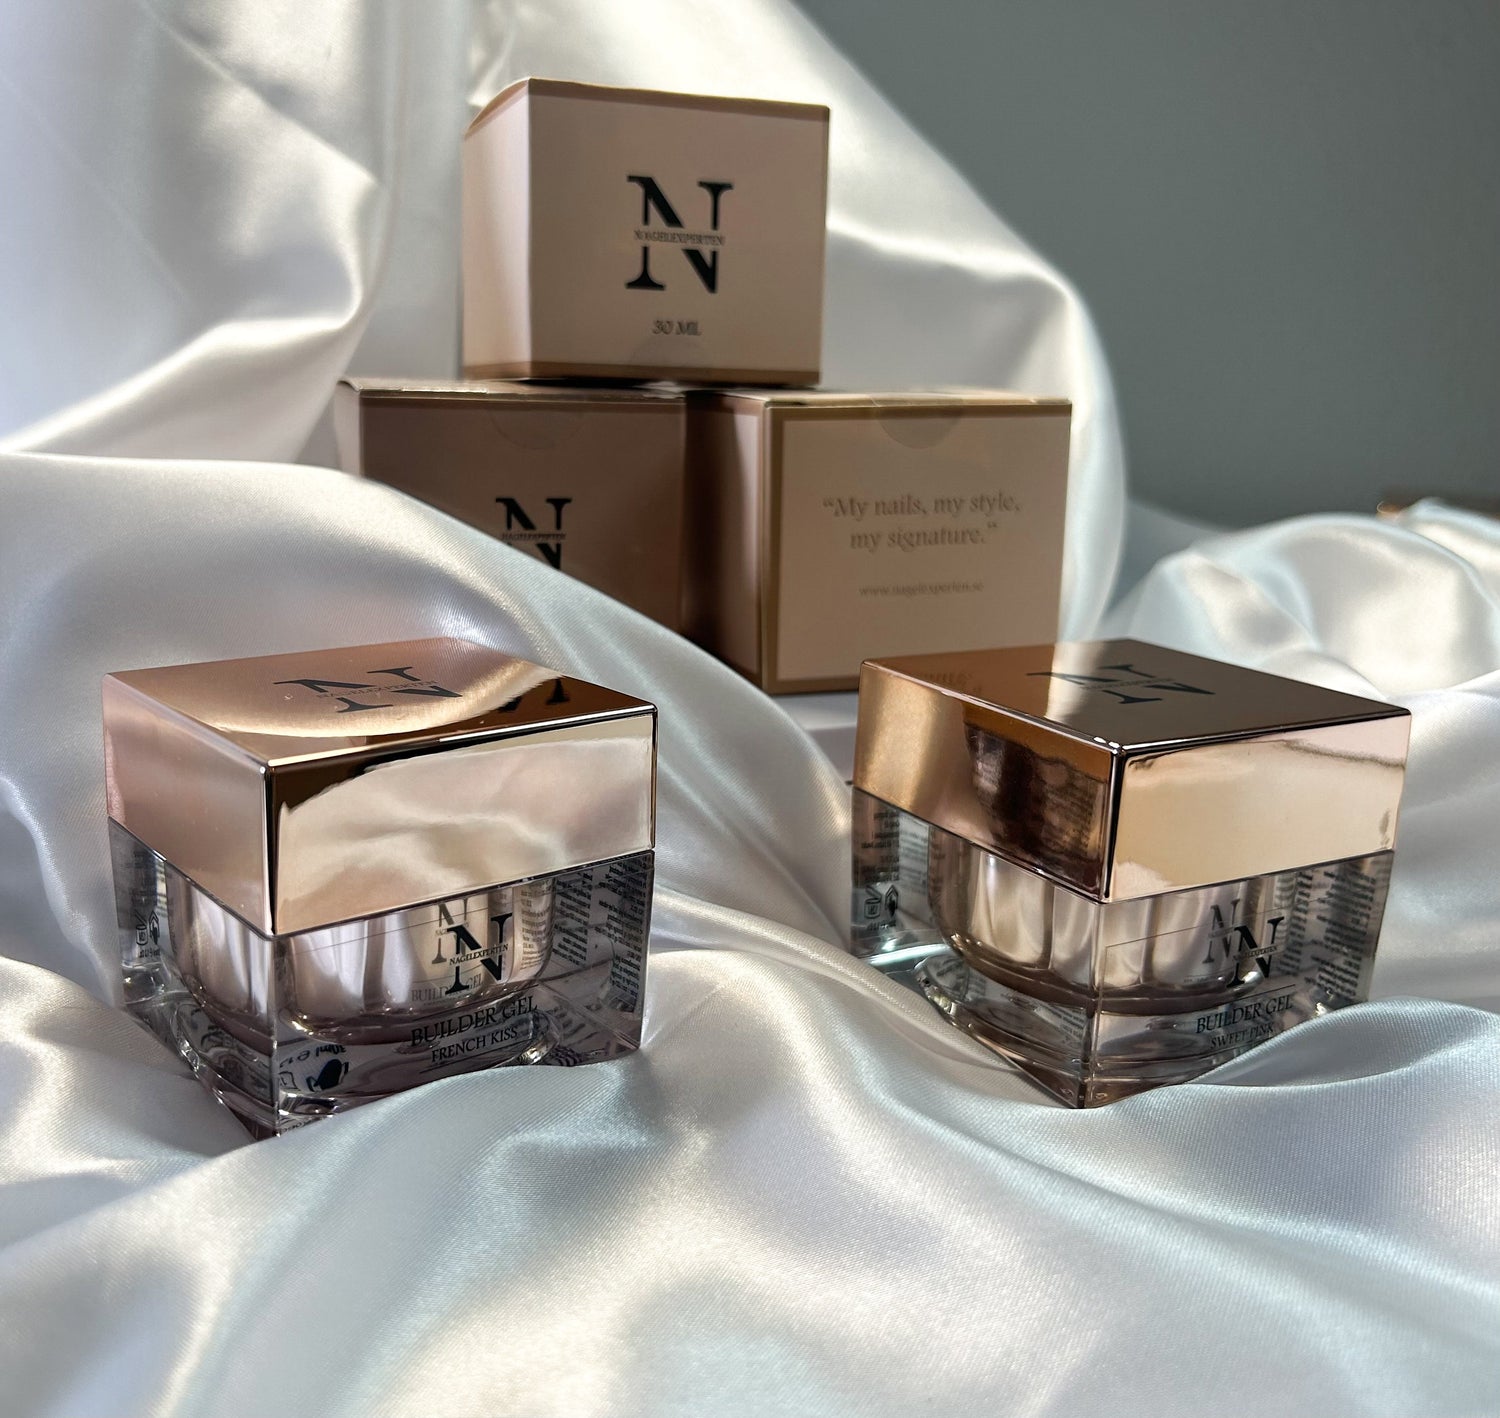
Check out the best builder gels here.
- Turn the nail upside down to create a natural apex. Use a thin brush to smooth out the product if it doesn't create a smooth and nice arch from cuticle to tip.
Read more about what apex is here.
- Now you should cure the gel in the UV lamp for 60-120 seconds. Make sure that no gel gets on your skin or cuticles before you put your hand in the lamp.
Read more about correct curing in a UV lamp and why it is important.
- Shape the nail with a nail file to achieve the desired length and shape.
4. Apply Color and Top Coat
- Apply a layer of gel polish in the desired color and cure for 60 seconds. Repeat if necessary.
- Seal with a top coat for shine and durability. Cure for 60–90 seconds.
5. Final finish
- Wipe off the sticky surface with a wipe off . You can skip this step if you are using a no wipe top coat .
- Apply nail oil to moisturize cuticles and give a fresh finish.
Benefits of gel nails
- Durability: Gel nails are strong and can last for several weeks.
- Flexibility: Unlike acrylic, gel is slightly more flexible and less prone to cracking.
-
Gloss: Gel nails provide a natural glossy finish that looks professional.
Read about the difference between acrylic and gel here.
Frequently asked questions about gel nails
How long do gel nails last?
The durability depends on how well they are applied and how they are cared for, but they typically last 3-4 weeks before needing a refill. We recommend refilling every three weeks.
Can I build gel nails myself at home?
Yes, with the right tools and practice, you can build gel nails at home. It's important to use quality products and follow the instructions carefully.
Check out our gel nail starter kits here.
Are gel nails harmful to natural nails?
If applied and removed correctly, gel nails are not harmful. Avoid pulling off the gel – instead, gently file away the material.
Read more about nail material removal here.
Summary
Building gel nails is both fun and rewarding, whether you do it at home or in a salon. With the right preparation, products and techniques, you can create long-lasting, beautiful nails that look professional. Follow our guide and start your journey to perfect gel nails with us!

